CONSTRUCTION
The rehabilitation treatment process is as follows:
> Before starting the project, the road has to be checked to ensure that all drains and drainage is clear, and that there will be no standing water in the drains. This is imperative as particularly with high silty soils and heavy axle loads the soil will become water logged through capillary action and cause the base to fail, usually starting at the shoulders. The road also has to be checked for deep base failure areas to be repaired prior to treatment.
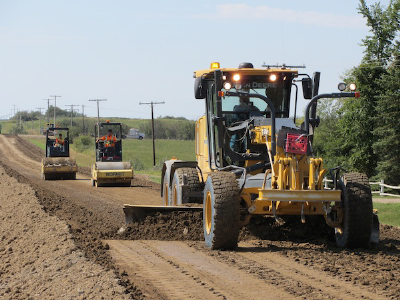
> If the road is 10 meters or more, Scarify the road to half the width on one side, including shoulders, to a depth of 20cm using graders or a rotormixer. This allows the traffic to continue using the other half of the road. F the road can be closed the whole width can be scarified. If the road is not wide, scarify the whole width.
> Calculate the amount of GRAVELOCK to be added for the open scarified area. (Length X width X dosage rate as supplied by GRAVELOCK)
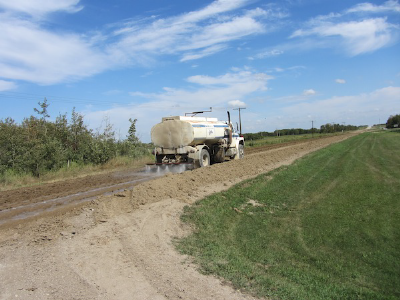
> Add the specified amount of Gravelock to the water tanker, which contains a predetermined specified amount of water.
> NB: It is necessary to make decisions regarding the amount of water to be added to the area to be treated on the particular day, to raise the soil moisture content to just above OMC. If the in situ soil is wet, one may add only a small amount of water for the water / GRAVELOCK Mixture. If the day is hot and windy it may be necessary to add additional clean water (without GRAVELOCK) to the soil to raise the moisture content to the required OMC +1%.
> Spray the water/ GRAVELOCK mixture evenly onto the surface of the scarified section. Add more clean water if moisture content has not reached Optimum Moisture Content (OMC).
> Mix the soil with the rotormixer again to render a uniform moisture content in the treated layer. Alternatively run the graders to blade mix the areas where the GRAVELOCK has been applied to mix the water/GRAVELOCK evenly into the 30cm layer.
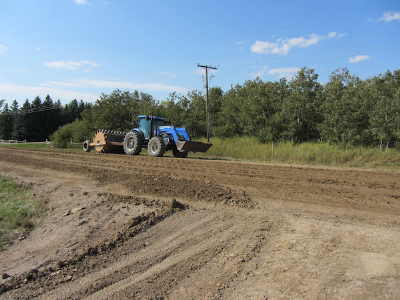
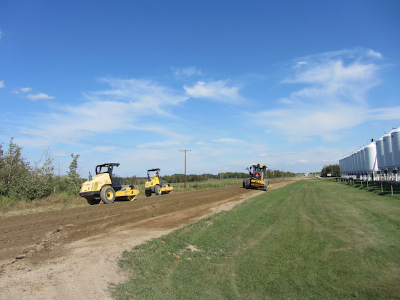
> With the grader the 10cm top layer has to be windrowed and the remaining lower layer of 5cm is compacted with a padfoot and wobbly.
> When the layer is compacted, a further layer of 5cm is brought onto the surface from the windrow and compacted. Continue to compact in 5cm lifts until the final layer from the windrow is then placed, shaped for crown and compacted. A minimum crown of 4% is required. (5% is desirable)
> Final rolling of the shaped surface is then done with the wobblies.
> Repeat the same procedure for the other half of the road.
> Ensure that in the final shaping of the road the 4% slope of the surface is maintained.
> A thin layer of gravel (3/4” Minus) has to be placed on the surface and rolled into the surface to avoid slipperiness and provide traction for vehicles. The gravel will also provide a better surface and make the road last longer.
> Depending upon the weather, it would be necessary to lightly spray the surface of the road with clean water for 3-5 days after completion to avoid wafering on the surface and to avoid premature surface compaction and so ensure that the moisture can evaporate effectively from the lower treated layers of the base. Severe cracking may also occur if insufficient water is added at this curing stage.
Equipment required:
The equipment required for this project is as follows:
1-Rotormixer
1-Water Tanker with spray bar (100 barrel capacity or similar)
1-Grader with Ripper Teeth (Two would be preferable.)
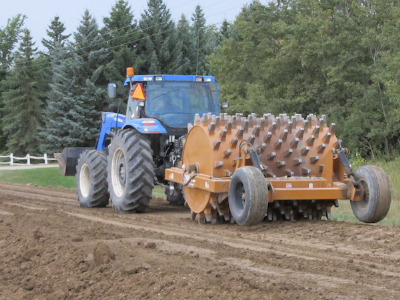
1-Padfoot Compactor
1-Smooth Drum Compactor
1-Wobbly Wheel Pneumatic Roller
1-Disc plow with tractor (if available)
Operators for this equipment
Where no rotormixer is available, the road can be scarified using a grader and then mixing the scarified layer either with a disc or with a disc and grader.
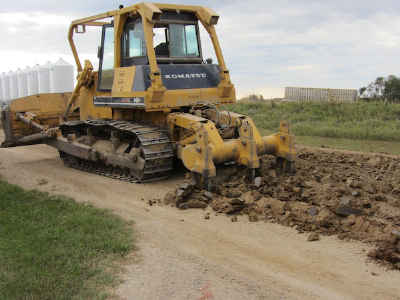
Scarify the road base.
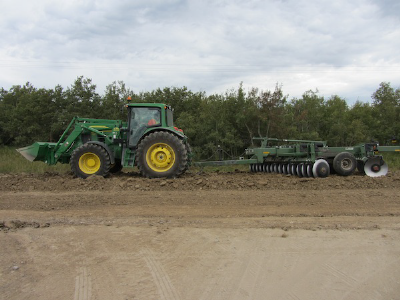
Break the large lumps using a disc.
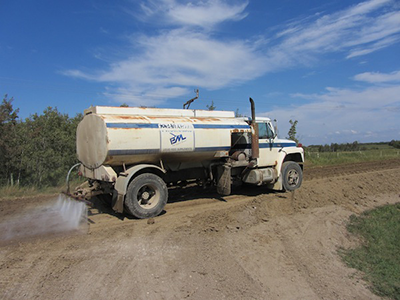
Apply the water / GRAVELOCK mixture.
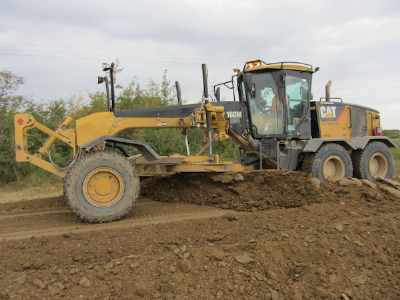
Mix the layer, using a grader,to achieve even moisture content, throughout the mixed layer.
Add more water without product, if required, to raise the moisture content to OMC +1.
Compact, using pad-foor compactor.
Compact in layers.
Final shape and compacting with the pad-foot and smooth-drum roller.
Final surface rolling with smooth-drum roller.
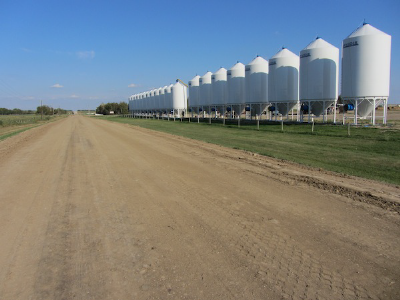
Finished road, open for traffic.
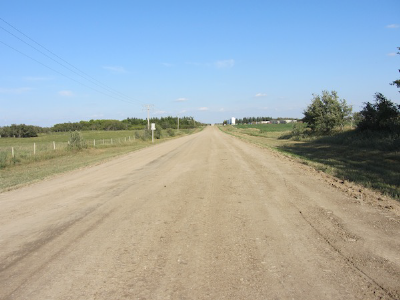
Finished road, open for traffic.
